Cut out the subject, then finish the image
Cutout separates the subject from its background. Export with transparency for design assets and product imagery that needs a PNG alpha channel.
PNG is a file format; transparency is image content. Converting a JPG to PNG does not remove its background—you need a background-removal step.
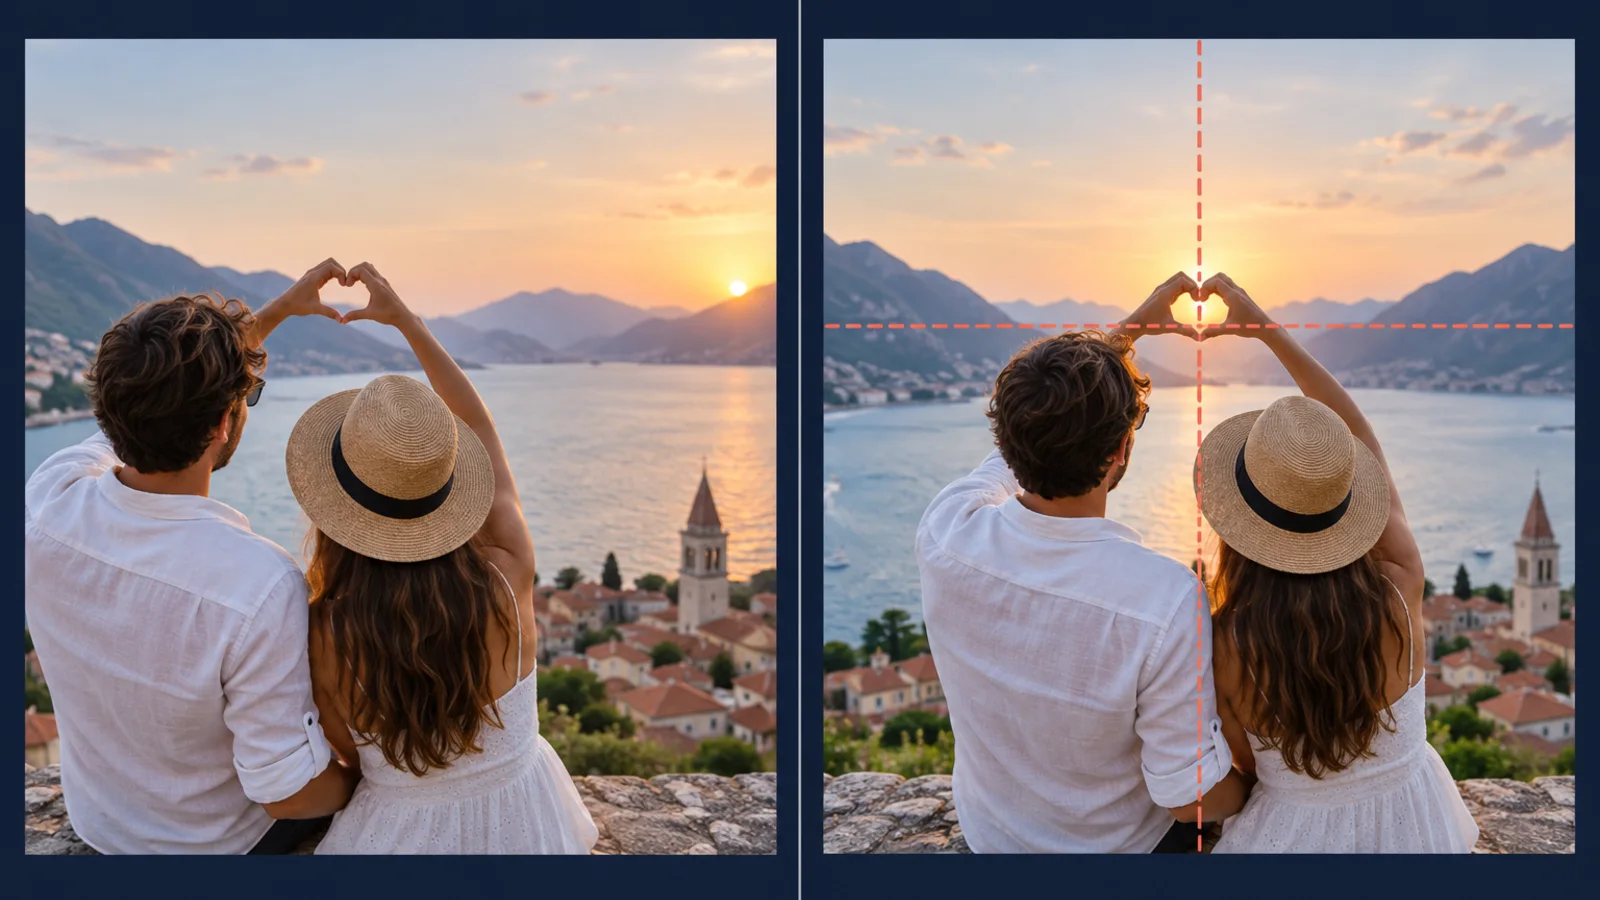
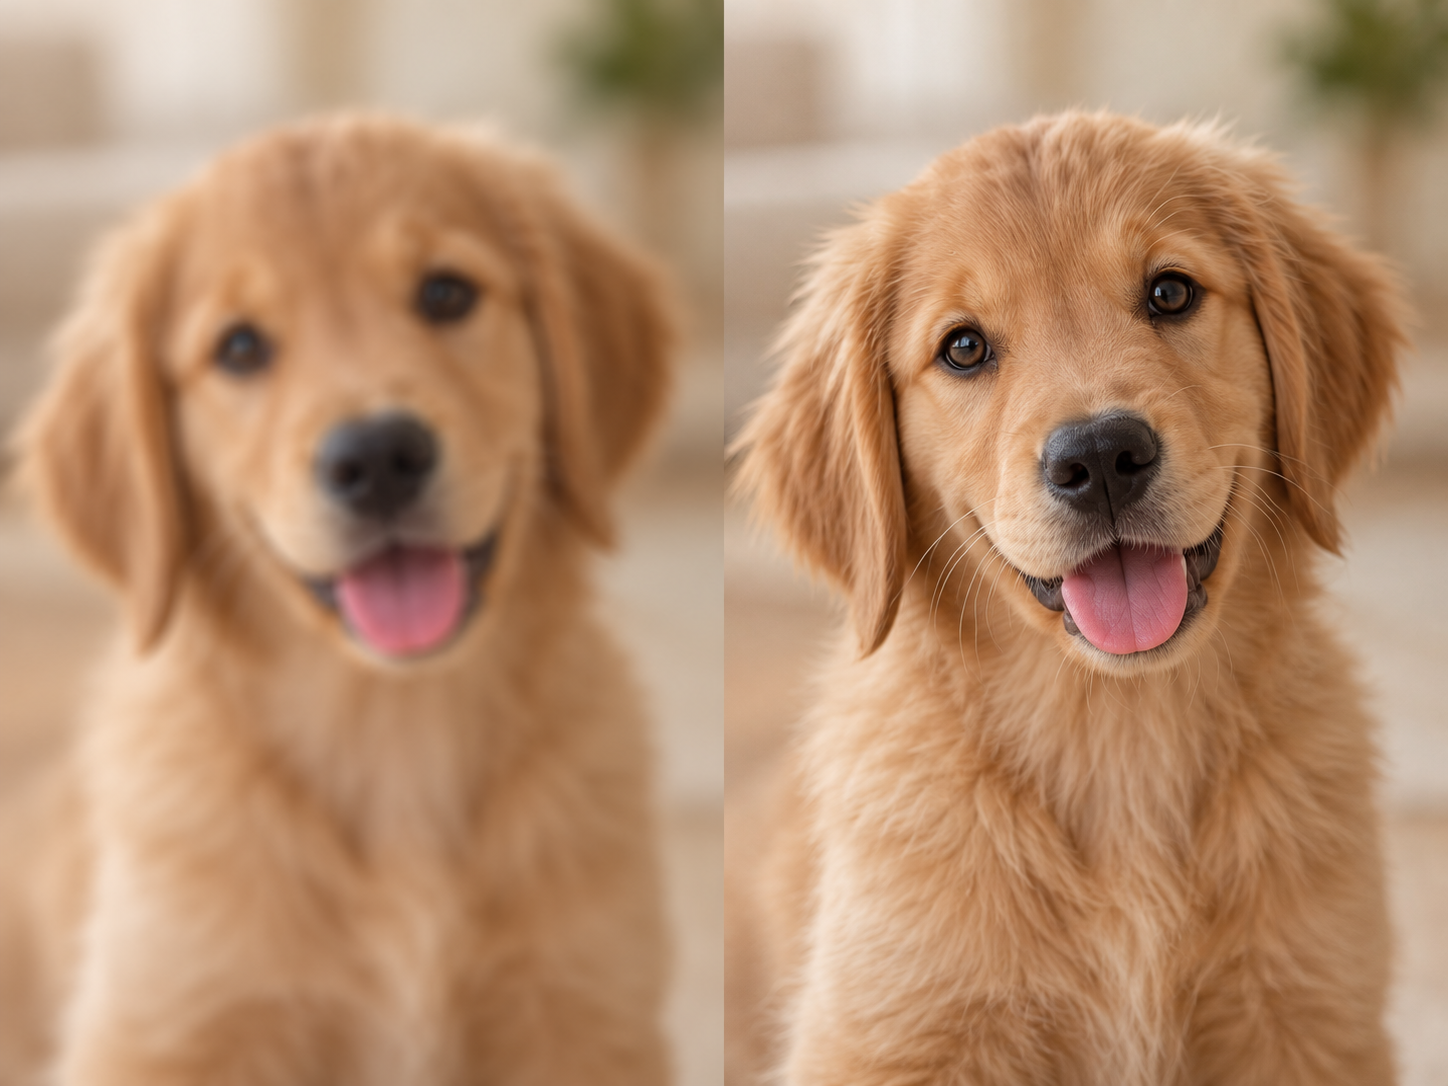
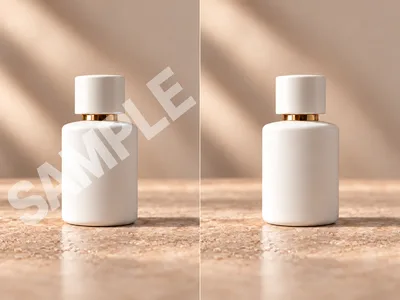
After cutout, continue by replacing the scene, trimming transparent margins, upscaling, or adding a watermark.
How it works
- 1
Choose an image
Drop or select a common image such as PNG, JPG, or WebP to open the cutout workspace.
- 2
Separate subject and background
Process the subject edges in the workspace. Clear outlines and contrast between subject and background generally help.
- 3
Review edge details
Review hair, fur, translucent objects, and areas where subject and background colors are similar.
- 4
Export or keep editing
Export a PNG with transparency, or replace the background and crop the canvas before downloading.
Common use cases
Product photos
Remove distracting backgrounds to prepare product assets for consistent product pages and campaign layouts.
Portraits and profile images
Separate a person to replace the scene or place the portrait in a presentation, poster, or social design.
Stickers and design assets
Extract an object or character as a PNG layer for further composition.
Changing an existing background
Cut out the subject first, then use a solid color, brand color, or a new scene as the background.
See the workflow

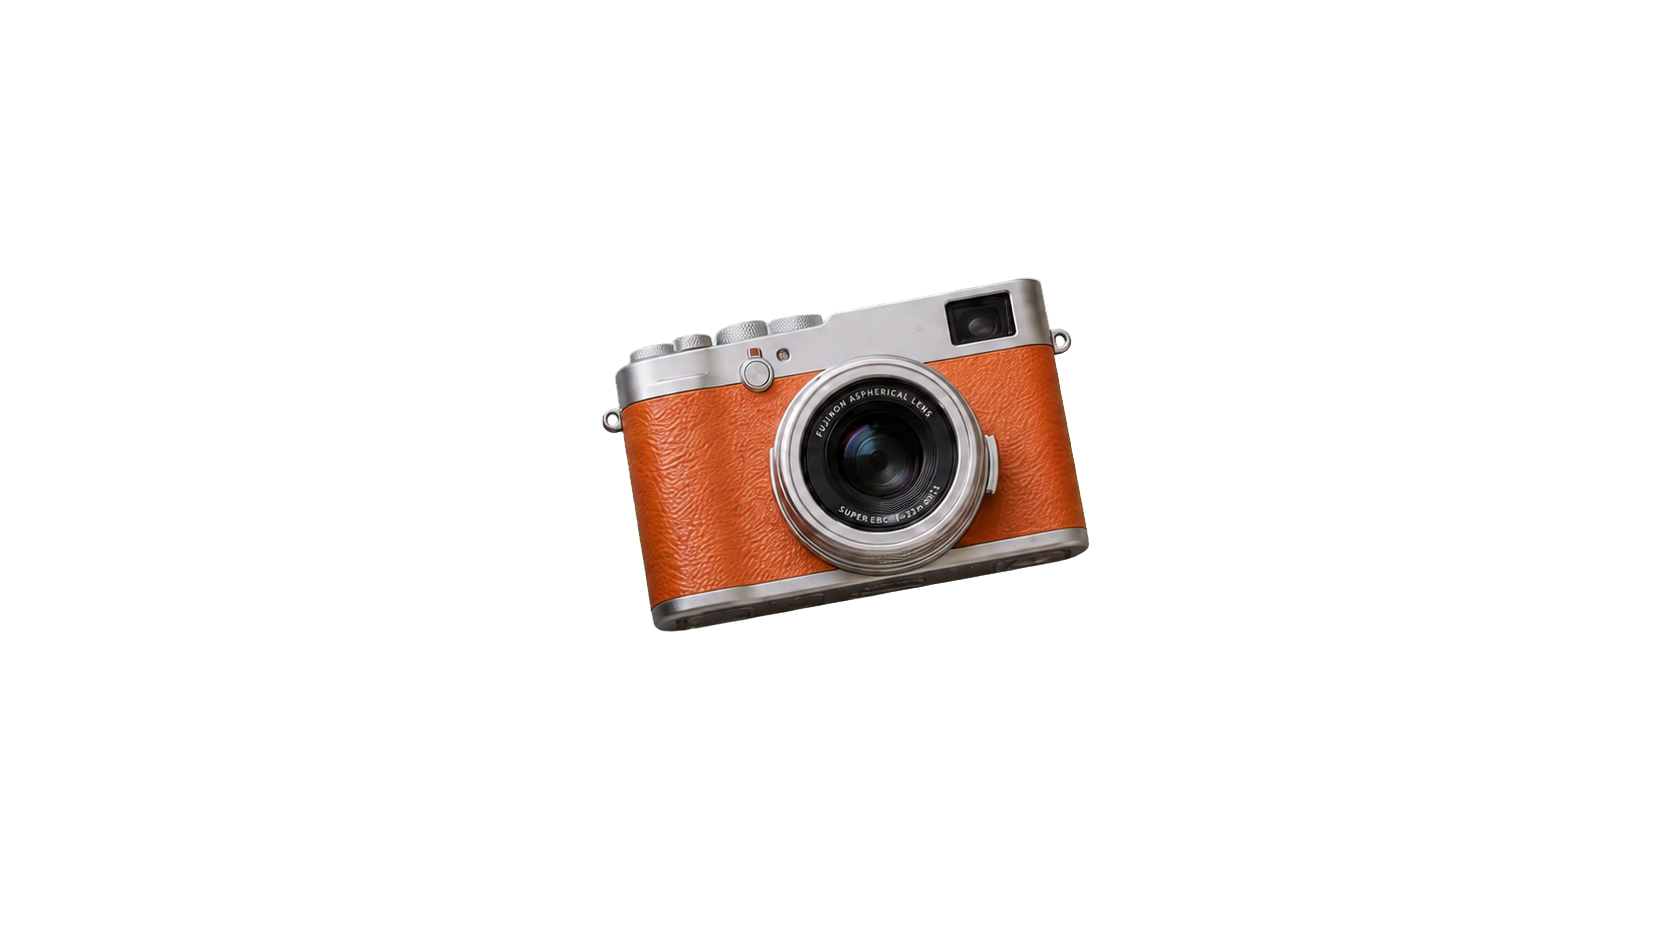
Examples illustrate the workflow; results depend on the source image.
Which images work best for cutout?
Images with a clear subject outline and visible contrast from the background are usually easier to separate. Product shots, portraits, and single-object photos are common starting points.
Hair, mesh, glass, motion blur, shadows, and edges that blend into the background may need extra review or manual refinement. Zoom in on the edges before downloading.
If you only need a smaller canvas, use a crop tool. If you only need a different background color, a solid-background tool may be more direct.
Frequently asked questions
Can I export a transparent PNG after cutout?+
Yes. Export as PNG after removing the background to preserve transparent areas.
Can I remove the background from a JPG?+
Yes. Common formats such as JPG, PNG, and WebP can be uploaded. Export as PNG to preserve transparency.
Does converting JPG to PNG remove a white background?+
No. Format conversion changes the file type but does not identify or remove the background. Use a cutout or background-removal workflow.
Why does a transparent PNG look opaque on a white page?+
Transparent areas show the page or canvas beneath them. On white, light-colored subjects can be hard to inspect; use a checkerboard or darker background to review the edges.
What can I do if the cutout edges look rough?+
Zoom in on hair, fur, and low-contrast edges, then refine them in the workspace. Source image quality and background complexity also affect the result.
Can I crop a PNG without removing its background?+
Yes. Cropping changes the canvas bounds but does not remove the background. Use the PNG crop tool for that task.
Can I add a black or another background after cutout?+
Yes. Export a transparent PNG first, then use a solid-background or AI background tool to add a color or scene.
Does the image download automatically?+
No. Once you are satisfied with the result, use the download or export action in the workspace.
Continue with these tools
Published tools selected for the next steps in your image workflow.